I made a Pirate outfit....

And Bella wore it to the game!

 I made a Pirate outfit...
 And we went to the Pirate game.

I made a Pirate outfit...
 And Bella wore it to the Pirate game!


 I made a Pirate outfit... And we went to the Pirate game.And Bella wore it to the Pirate game!
 Mini and the ring bearer with the beautiful bride.
 Mini and Conner!
 We were soo excited that Mini made it down the aisle and stayed up there the who time!
 The dress.
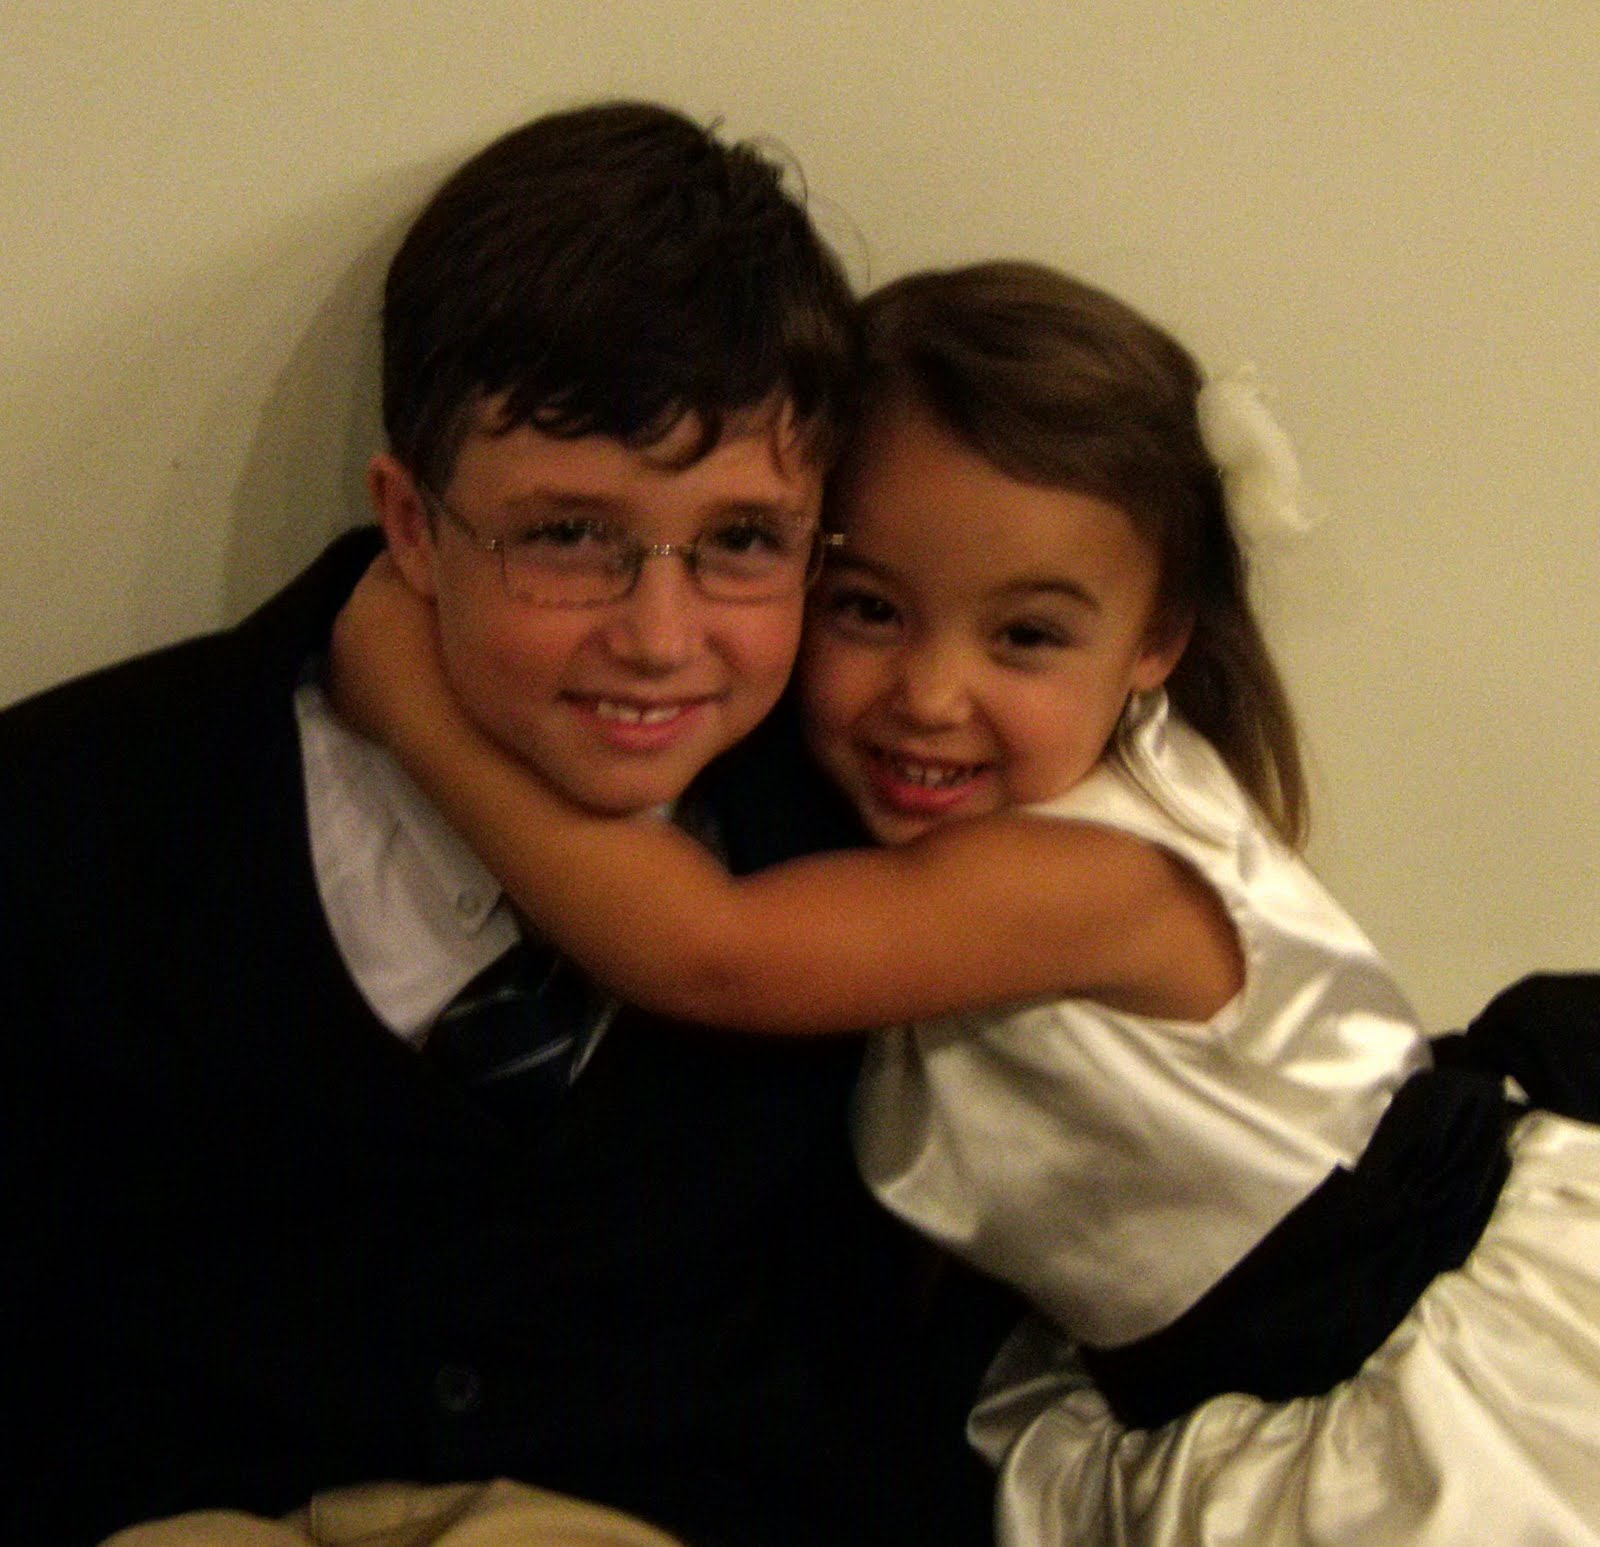 Loving on Conner again!
 Dancing with her daddy!
 I love the new pink awareness ribbon fabric print!!!


 Step 2: Stuff the shoes with plastic bags, so they maintain their shape while you work.
 Step 3: Iron the freezer paper punches onto the shoes using random placement.
 Step 4: Put masking tape around the sole of the shoe so that your sole will not turn black as you spray.
 Step 5: Begin to spray your shoes with the fabric spray paint. I sprayed it 2 times so that it was dark.
 Step 6: Allow the paint to dry for at least 4 hours and then peel off the freezer paper stencils. Note: I did touch up the stencils with white fabric paint because some of the stencils had bled through.
 I paired the shoes with some purple and black shoe strings that I found at the Dollar Tree. Total cost of the project was only $10! I can't wait for Mini to wear them to the next ECU game!!!!

 1. To make one of your very own, you need to trace all sides of the basket, but add an additional 1/4 inch to each side for the seam allowance and then an additional 3 inches to the top.
 2. After you cut your pieces apart, it should look something like the below picture. Next pin the bottom and sides together so that "right" sides of the fabric are facing each other.
 3. Sew along the sides and the bottom. Once you place in the basket, it should look like the picture below.
 4. Fold the top edge over 1/4 inch and sew along the fold as seen below.
 5. Once finished it should look like this:
 6. Cut out 3 different color fabric squares. Iron them onto heatbond.
 7. I printed clip art of a train onto card stock, and then cut it to be more of the shape I wanted. Next I traced the cardstock using a white fabric pencil and then cut out each piece.
 8. Iron on each piece of the train on the setting appropriate for the heatbond.
 9. Stitch around the outside of the train using an embroidery stitch.
 The final product on it's appropriate shelf.


