Monday, December 6, 2010

Mini+scissors=destruction

Let me preface the current story with a previous event to set the stage! One morning a few weeks ago, Will sent me a text at work and said, "call me ASAP!" I was so nervous that Mini was sick or something, so I called him as soon as I got a break. He proceeded to tell me that after laying in bed for a little while with Mini that morning, she claimed to have to go to the bathroom. So she went to the bathroom independently and Will dosed back off to sleep. He awoke to Mini playing in his hair...little did he know that she was playing in his hair with scissors! :o She only cut a chunk out of his hair and it was barely noticeable, but it was VERY funny!

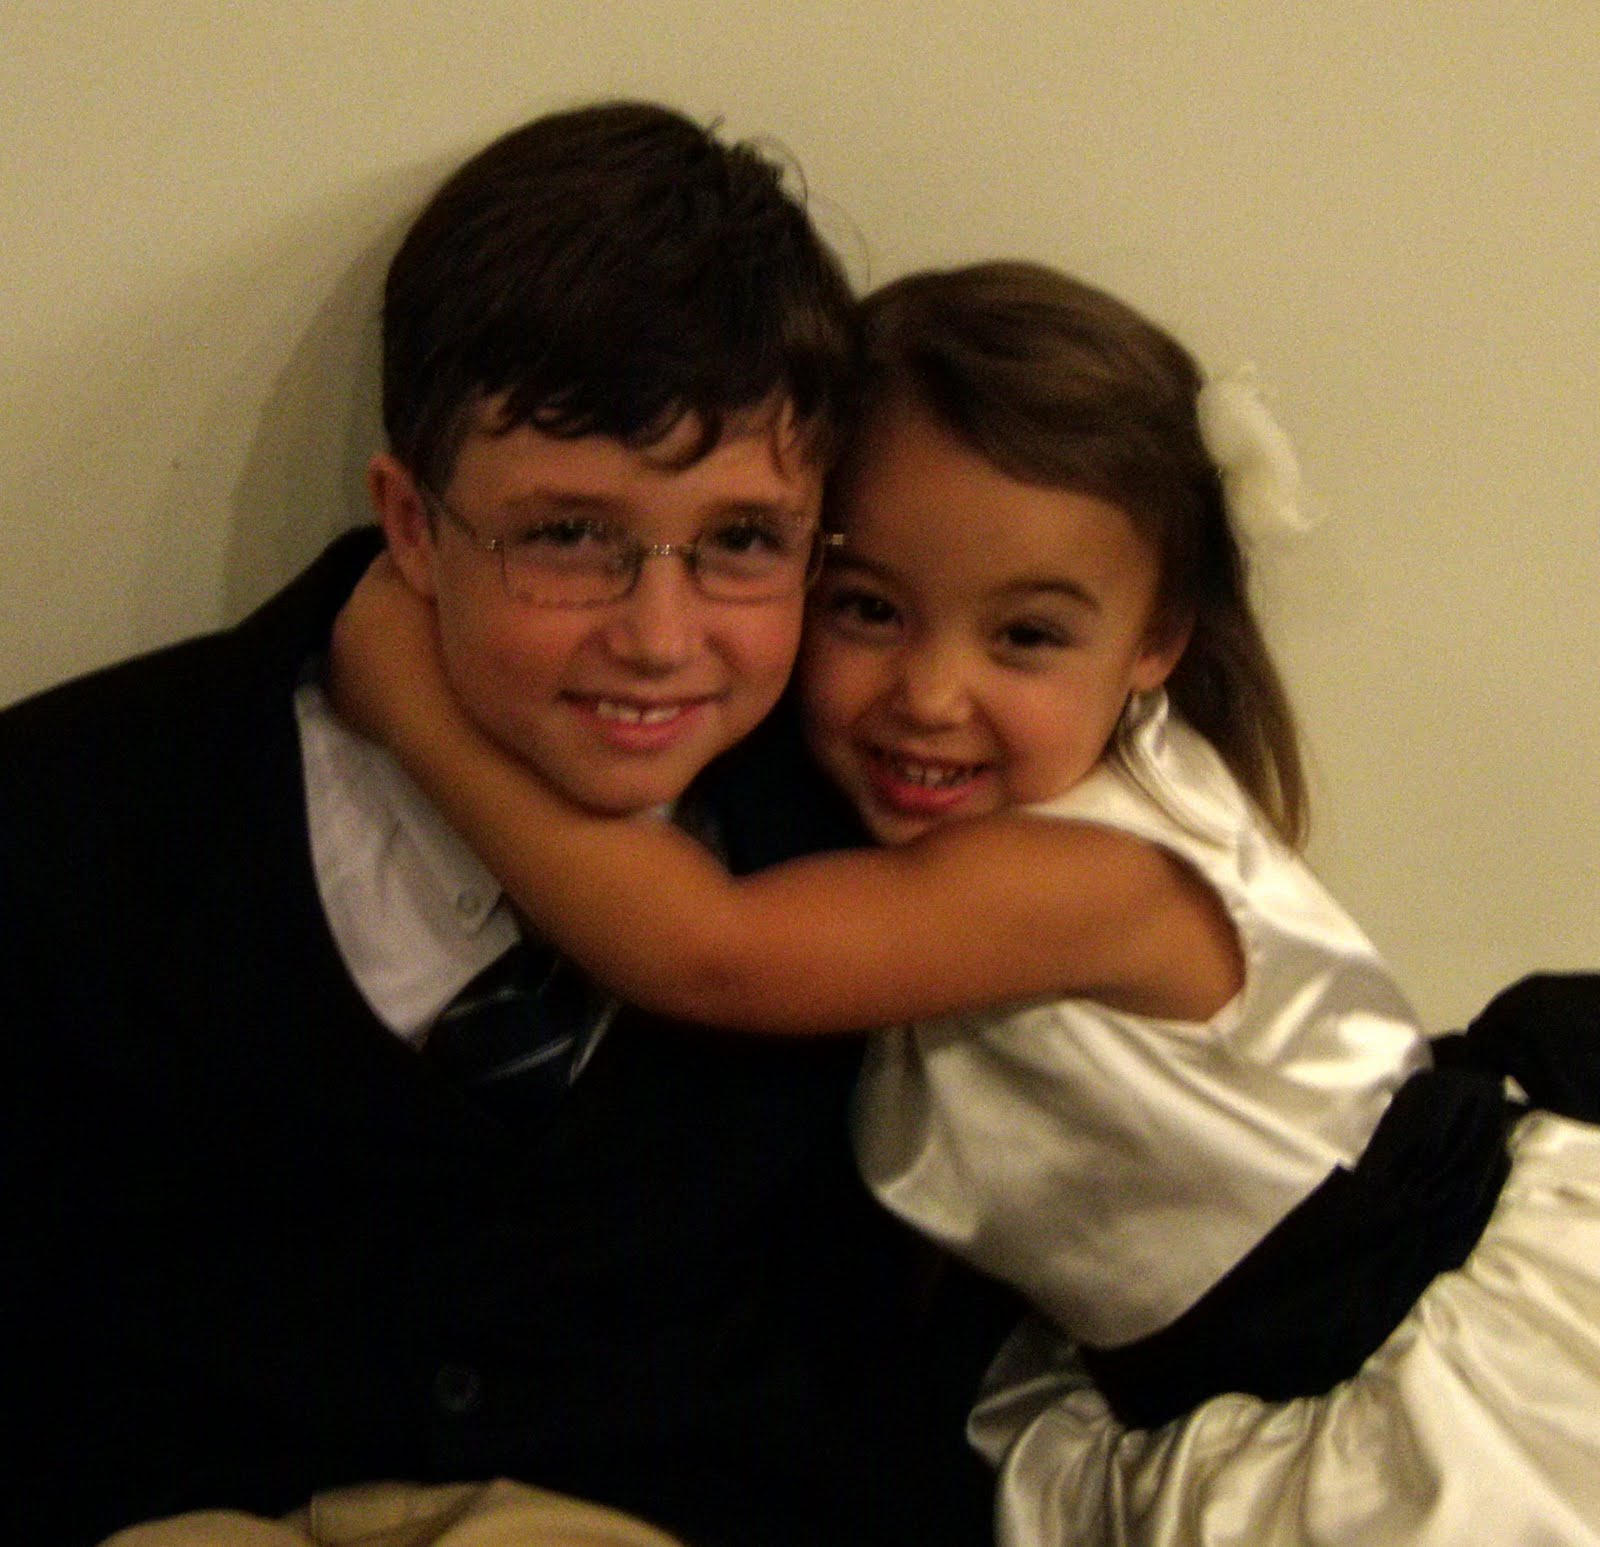
Fast forward to this weekend! I was altering my bridesmaid dress on Friday morning for the wedding on Saturday (yes I know, I am a big procrastinator), I walked away from the room so that I could turn on the TV for Mini. Every single time that I walked away from the dress, I always put the needles AND scissors up where Mini couldn't reach them, but for some reason, I only put the needles up this time. I heard a click, click and just assumed that Mini was playing with her Nana's watch. When I returned to the room, which was literally 2 minutes later, I found my dress with a 8-10 inch cut in the side of the dress! I repaired the dress as best as I could, but it was definitely noticeable. I was very hesitant to say anything to anyone, because I didn't want to upset or stress anybody out, but the bride drug it out of me. Thankfully she is an awesome and very understandable friend and got a big kick out of the story!

So the moral of both stories is that scissors become weapons of mass destruction when put into the hands of my child!

Wednesday, December 1, 2010

MIA

So again I have neglected the blog! What can I say??? I have been swamped! I have been preparing for a craft fair, a Relay for Life event that I co-hosted, working on birthday goodies, and preparing for an upcoming wedding that I am helping out with! Here are a few things from the past couple weeks.
The UNC belt that debuted at the craft fair!

The holiday shirt and belt that I designed and created to debt at the craft show!

The 2nd holiday shirt that I designed and created to debut at the craft show!

Bella and Will celebrated their birthday with our friends at the ECU game over the Thanksgiving weekend!

Check out the new birthday cake shirts...Bella's is of course "Pirate" themed!

Thursday, November 11, 2010

Excuses

So here are some of the reasons for my absence on the blog.


I made a Pirate outfit....
And Bella wore it to the game!

I made a Pirate outfit...

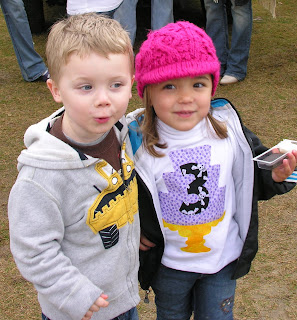
And we went to the Pirate game.
I made a Pirate outfit...

And Bella wore it to the Pirate game!

Tuesday, November 2, 2010

Blog Slacker

I have been so slack about updating the blog, but we have had a LOT going on. With starting the "Think Pink" series and keeping up with belt orders, ballgames, and wedding festivities...it has been a crazy month! My project last week was to make Mini's flower girl dress for the wedding on Saturday and in true procrastinator fashion, I didn't start until Monday afternoon. Did I mention that I also made her a rehearsal dinner dress last week, which she ended up not wearing because it was too cold!!! Here are a few pictures from the wedding.
Mini and the ring bearer with the beautiful bride.
Mini and Conner!
We were soo excited that Mini made it down the aisle and stayed up there the who time!
The dress.
Loving on Conner again!
Dancing with her daddy!

Sunday, October 10, 2010

"Think Pink" Until There is a Cure

Check out the "Think Pink” shirt! I made this for myself and two other people for the Mini Relay for Life this past weekend and we had so many people ask about it, that I decided to make some to sale. As with the belts, the sale of these will benefit the American Cancer Society.
I love the new pink awareness ribbon fabric print!!!

Tuesday, October 5, 2010

"Think Pink" Until There is a Cure

Check out my new "Think Pink" belt! It will be available starting this Saturday, October 9th at the Wintergreen Primary Mini Relay for Life in Greenville, NC. The Mini Relay starts at 10:00 am. The sale of these belts will benefit the American Cancer society.


Sunday, October 3, 2010

Tribute to the Pirates

So even though the Pirates haven't played too hot the past 2 games, I still have to show my support, thus I made this wreath. Will's mom was nice enough to take pictures while I made it. I have a tutorial here so that you can make our very own.


Thursday, September 30, 2010

Shoe Transformation Tutorial

This may be a reach, but here is another tutorial for my "Transportation" series. For years Will and his friends have referred to their feet as "Pat and Charlie," thus when they use this term, you know that you are going to be walking to get from Point A to Point B. Below are the pirate shoes I made for games for Bella.


Supplies needed: Tulip Fabric spray paint, a fancy paper punch, freezer paper, masking tape, plastic grocery bags, and white canvas shoes.
Step 1: Start by punching out your design on freezer paper.
Step 2: Stuff the shoes with plastic bags, so they maintain their shape while you work.
Step 3: Iron the freezer paper punches onto the shoes using random placement.
Step 4: Put masking tape around the sole of the shoe so that your sole will not turn black as you spray.
Step 5: Begin to spray your shoes with the fabric spray paint. I sprayed it 2 times so that it was dark.
Step 6: Allow the paint to dry for at least 4 hours and then peel off the freezer paper stencils. Note: I did touch up the stencils with white fabric paint because some of the stencils had bled through.
I paired the shoes with some purple and black shoe strings that I found at the Dollar Tree. Total cost of the project was only $10! I can't wait for Mini to wear them to the next ECU game!!!!

Monday, September 20, 2010

Train Storage Basket Tutorial

I bought an inexpensive basket a while back for Mini's train set, but it was so plain so I decided to spice it up a bit. Below is the final product. 1. To make one of your very own, you need to trace all sides of the basket, but add an additional 1/4 inch to each side for the seam allowance and then an additional 3 inches to the top.
2. After you cut your pieces apart, it should look something like the below picture. Next pin the bottom and sides together so that "right" sides of the fabric are facing each other.
3. Sew along the sides and the bottom. Once you place in the basket, it should look like the picture below.
4. Fold the top edge over 1/4 inch and sew along the fold as seen below.
5. Once finished it should look like this:
6. Cut out 3 different color fabric squares. Iron them onto heatbond.
7. I printed clip art of a train onto card stock, and then cut it to be more of the shape I wanted. Next I traced the cardstock using a white fabric pencil and then cut out each piece.
8. Iron on each piece of the train on the setting appropriate for the heatbond.
9. Stitch around the outside of the train using an embroidery stitch.
The final product on it's appropriate shelf.