Saturday, July 31, 2010

Saturday's Storage Solution

I asked readers for inspirational ideas a few months ago for our first giveaway. The winner of the giveaway asked what can be done with the tons of stuffed animals that children tend to collect through the years. Of course I volunteered my dog at that time because he tends to pick off Mini's stuffed animals one-by-one, but this is not necessarily an acceptable solution. I knew exactly what I wanted to make, but have been waiting for the perfect timing and/or event to make it. Today our friends celebrated their sons birthdays...the youngest turned 1 and the other turned 3 this month. They asked for no gifts since they already had so many toys (I completely understand that sentiment); thus I decided to give them something that I hope will prove useful. Here is a the "Bean Bag" chair that I made, but instead of using normal bean bag stuffing, you stuff it with your stuffed animal collection, so that it will be plush and comfy to lay, jump, or sit on.
Here it is from the front:
I used a white denim for the exterior and then hand-painted the red stitching on it so that it looked like a baseball. I used a mesh material to create the zipper opening so that the animals can breathe, or even a sibling that was shoved into the bag can breathe as well ;)! I also added a red, white, and blue webbed strap to the top for easy pulling or dragging by your little ones.


Friday, July 30, 2010

Fashion Friday - Shirt Refashion

Thanks to a good friend who was cleaning out some items, I scored TONS of clothes that I can refashion. Today I started with a girls shirt:
Before:
After:The Back Before:
The Back After:

All I did was move the straps and use elastic thread and a shirring technique to gather the back. I love the simplicity of the dress!


Wednesday, July 28, 2010

Pillow Case Dress Tutorial

It is becoming harder and harder to post this summer! This tutorial has been a long time in the making or at least a long time in the planning aspect, but life happens and it has been postponed numerous times. This dress only took about one hour to make! My model will do anything for a M&M...even smile when she is not in the mood!
1. Measure 2 pieces at 23 inches x 19 inches and 2 pieces of a complimentary fabric 23 inches x 6 inches.
2. Fold the 23 x 6 inches fabric in half (hotdog fold) and press with an iron.
3. Pin the complimentary fabric to the bottom and the front of the large fabric and stitch together.
4. Press along the seam.
5. Fold the 2 pieces in half and cut an opening for the armhole as seen above.
6. Pin the sides together, such that the front portion are facing each other) from the armhole to the bottom and stitch together.
7. Fold the armhole over 1/4 of an inch and press with the iron. Note it is pinned in the picture above to hold it prior to pressing.
8. Fold the armhole over another 1/4 of an inch and pin. Then stitch along the fold.
9. Fold another 1/4 of an inch along the top of the dress and press with the iron.
10. Then fold the top of the dress again so that it is about an 1 inch fold and press with the iron.
11. Stitch the top along the bottom of the fold.
Once all the sewing is finished, it should look like this.
12. The final step is to put a safety pin on the end of ribbon you would like to use and push it through the opening. I used 46 inches of a 5/8" ribbon for this dress.

Monday, July 26, 2010

Mother of the Year Monday

WARNING...This post is not for people with weak stomachs!!!!!

"Mother of the Year" strikes again. Sunday we went to the beach with Will's parents, thus we were tired and not in the mood to cook. We showered and set out for Olive Garden. As I was walking out of the house, I realized that I didn't have Mini's bag with wipes and a change of clothes in tow, but decided not to hold up the entire crew looking for it. We sat down for dinner, Bella sucked down 3/4 of her milk, and we gobbled up yummy breadsticks and an appetizer; all is well and wonderful in our world with great food and great company. Then it happened...I see Mini gag, and then out comes a river of Milk from her mouth and nose! I grab mine and Will's cloth napkin (not very absorbent) and then everyone from the table started passing theirs...I didn't think it was ever going to stop! Our waitress comes back and witness this disaster, and brings several paper napkins (much more absorbent). Once Mini had finished vomiting, I scooped her up in a baby cradle position and ran to the bathroom, because her dress had acted like a reservoir holding puddles of you know what. After sitting her on the beautiful immaculate granite counters in the bathroom, I stripped her down to her panties and threw the dress in the sink to wash it. I wiped her down with wet paper towels, because I had no wipes. Did I mention that it was also all over my dress from carrying her to the bathroom, but I didn't think stripping myself down would be a great plan. After cleaning her as best I could, I put Mini on my hip, in just her panties, grabbed her wet dress, covered her with my arms as best I could, and ran out of Olive Garden to the car. Needless to say, Will and his parents got our food to go, while Bella and I sat in the car to calm down from the excitement. Mini was completely fine afterwards, which leads me to believe that it was the milk or she had just gotten too hot. I can't wait to tell Mini about the time she was in Olive Garden in just her panties and a pink bow in her hair.

A quick note for the future...ALWAYS carry wipes and a change of clothes because the one and only time you don't, your child will throw up all over themselves!!!!!

Wednesday, July 21, 2010

Wordless Wednesday

I'm LOVING my new labels!!!!

Monday, July 19, 2010

New and Improved Labels

Below are my original labels that I ordered when I was in college; they were inexpensive, but didn't really reflect my personality or the direction in which I would like my clothing and accessories to go.
I had lost hope that my labels would ever arrive, as I ordered them weeks ago, and then today I finally received the long awaited package. I ordered the labels from a company in New York, but when I contacted them to send them my label artwork, they told me that their actual production company was in Hong Kong.
I'm sure that my package was delayed in customs, but that is a story for another time.
As I opened the box I saw this...
And then...Tah, Tah, Tu-Tah! Here is my new label very close up!

New and Improved Storage

Originally I used dowel rods to just stack my spools of ribbon up as seen below, but it had numerous flaws and I knew it would only be a temporary solution.
As I was searching online for storage solutions, I saw that someone used gutters to store their ribbon. It was a cheap and creative solution, so Will offered to help cut and attach the gutter's to the wall (I'm not sure he trusted me to use all his tools). Although Will's gesture was very nice, I could have easily done it myself.
I love how all the ribbon can be arranged by colors and easily viewed.

Weekend Wrap-up

This was a very busy weekend for us...not a very productive weekend in that I had a ton of work to do today and we have a mound (literally) of laundry to do, but it was still a great weekend. Friday night we celebrated Renea's 40th birthday on The Belle of Washington, which is a big party boat! It was very cool and we had a great time dancing!
The DJ and the Birthday Girl!
Sandy and I.
Saturday and Sunday we went with our neighbors, the Hughes, to the river on their new boat. We had such a great time hanging out with them and their two kids.
Mini enjoying the boat ride...
Will enjoying the boat...
And Mini and I enjoying the boat!

Thursday, July 15, 2010

Gift Week/For Her

Sorry for the late post and lack of tutorial, but I have been beyond busy today. This is a gift for a friend's birthday...it is a "Catch-All" Purse perfect for moms on the go.
There is a snap on the side, thus the purse can be carried as above without the snap, or below with the snap closed...it makes it a little more versatile.
After looking at the picture below, you can tell why I'm calling it a "Catch-All" purse, as it will hold LOTS of stuff!

Will didn't believe I actually made this purse, so I guess I can take that as a compliment?!

Wednesday, July 14, 2010

Gift Week/For Her

I think this would be a fabulous present for bridesmaids or a teenage girl going to the prom or even just for a "girls night out." I found this clutch in the "dollar spot" at Target a few years ago, but it was too boring for my taste, so I decided to dress it up the other day.
Here is the clutch before:
Next I cut 8 strips of fabric so that one side was straight and the other wavy.
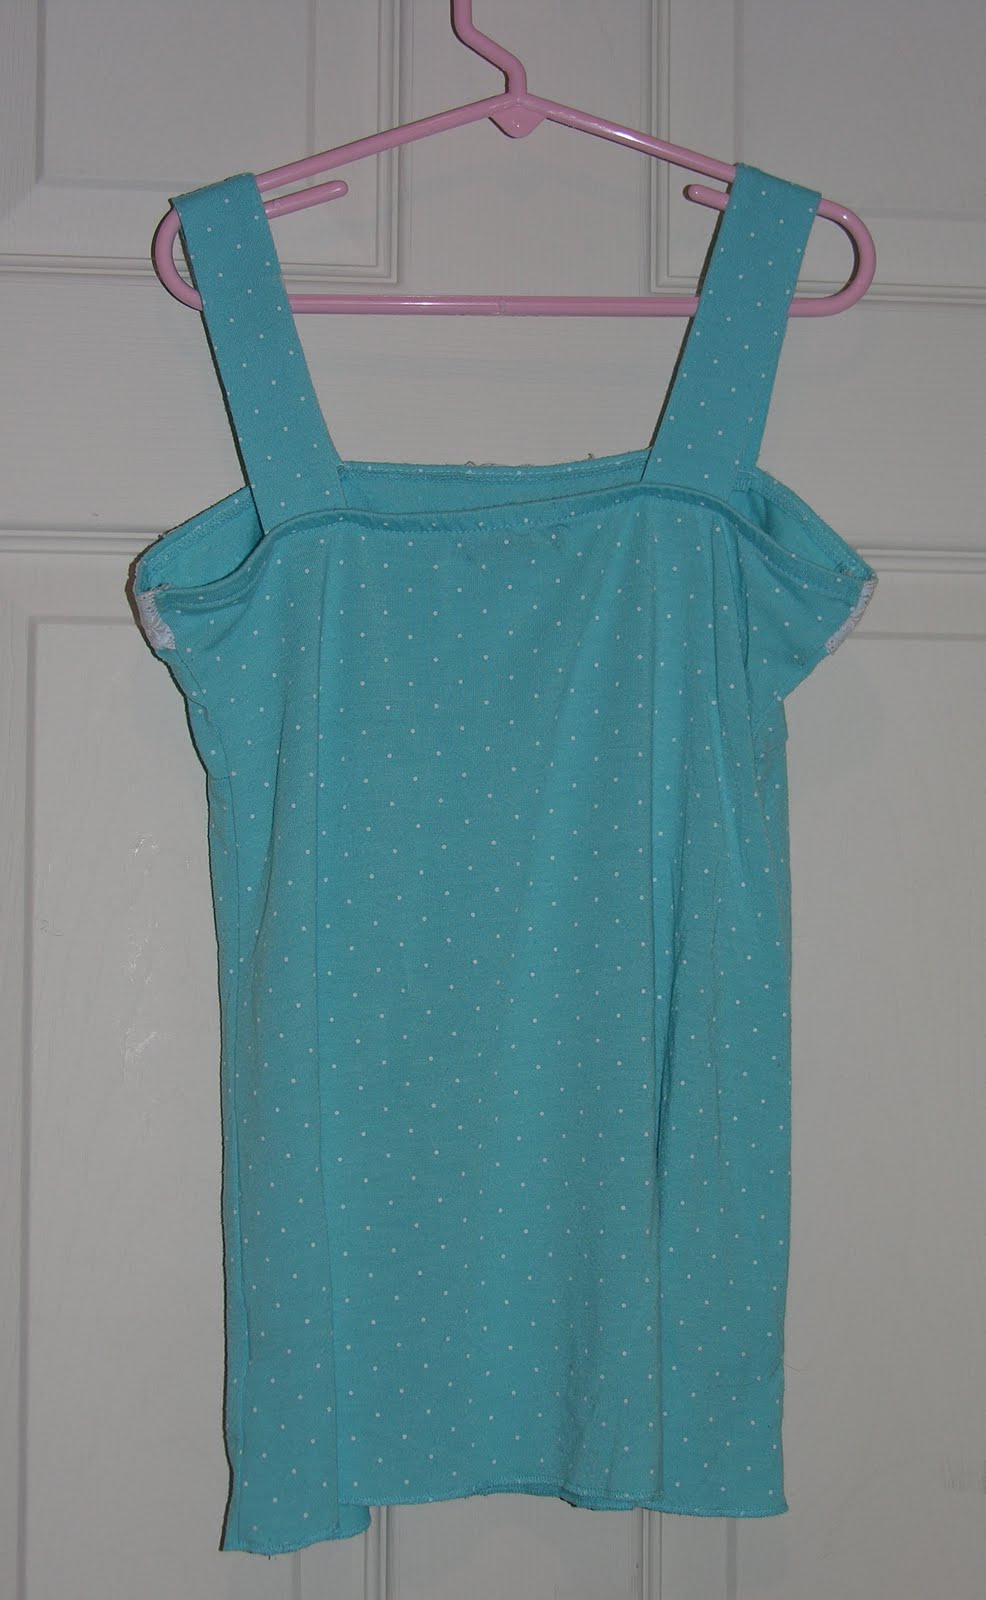
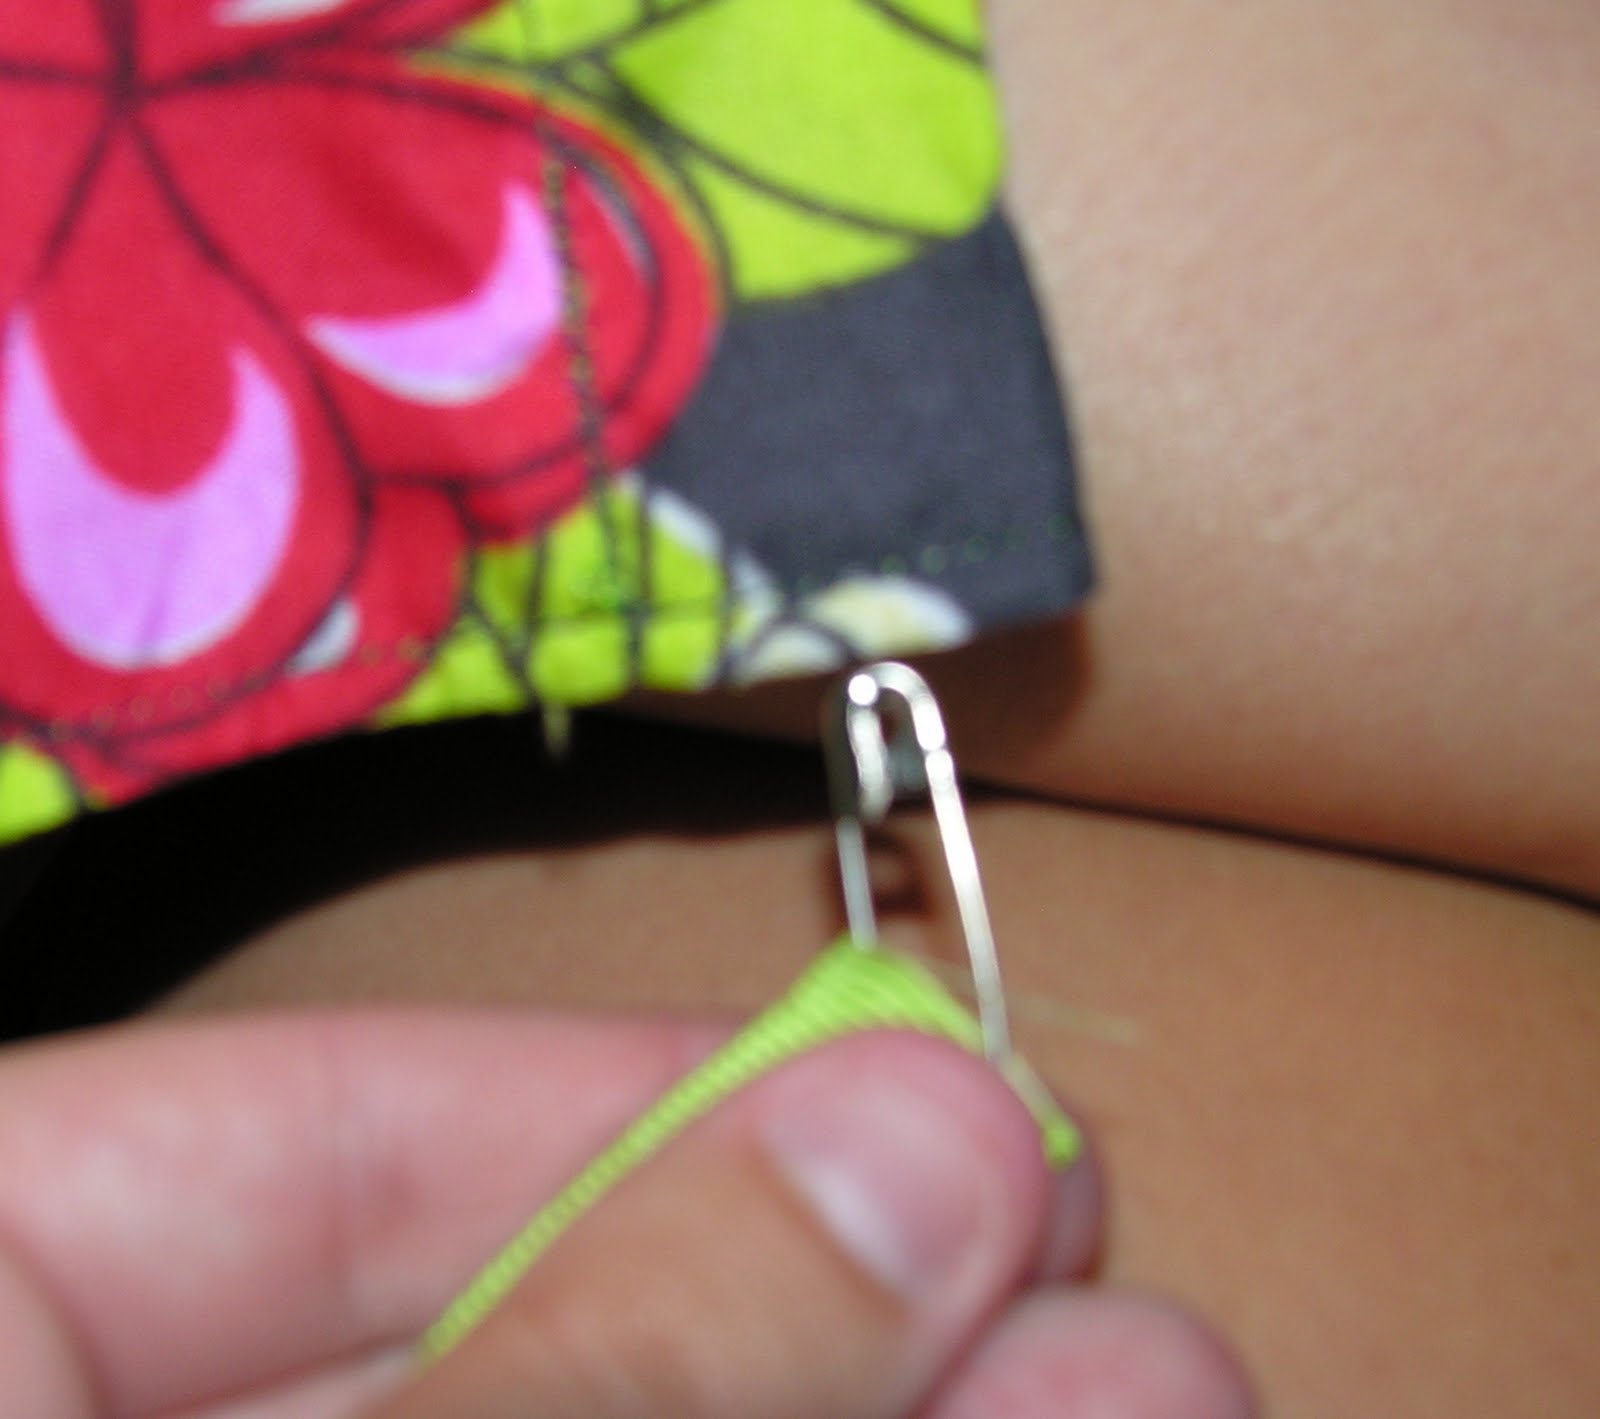
Then I used a shirring stitch and elastic thread so that my strips would have a gathered look.
Next I hand stitched each strip in a zig-zag pattern down 1/4 of each side.
When spread out the ruffle looks something like this.
Here is the clutch once all the ruffles were sewn on.
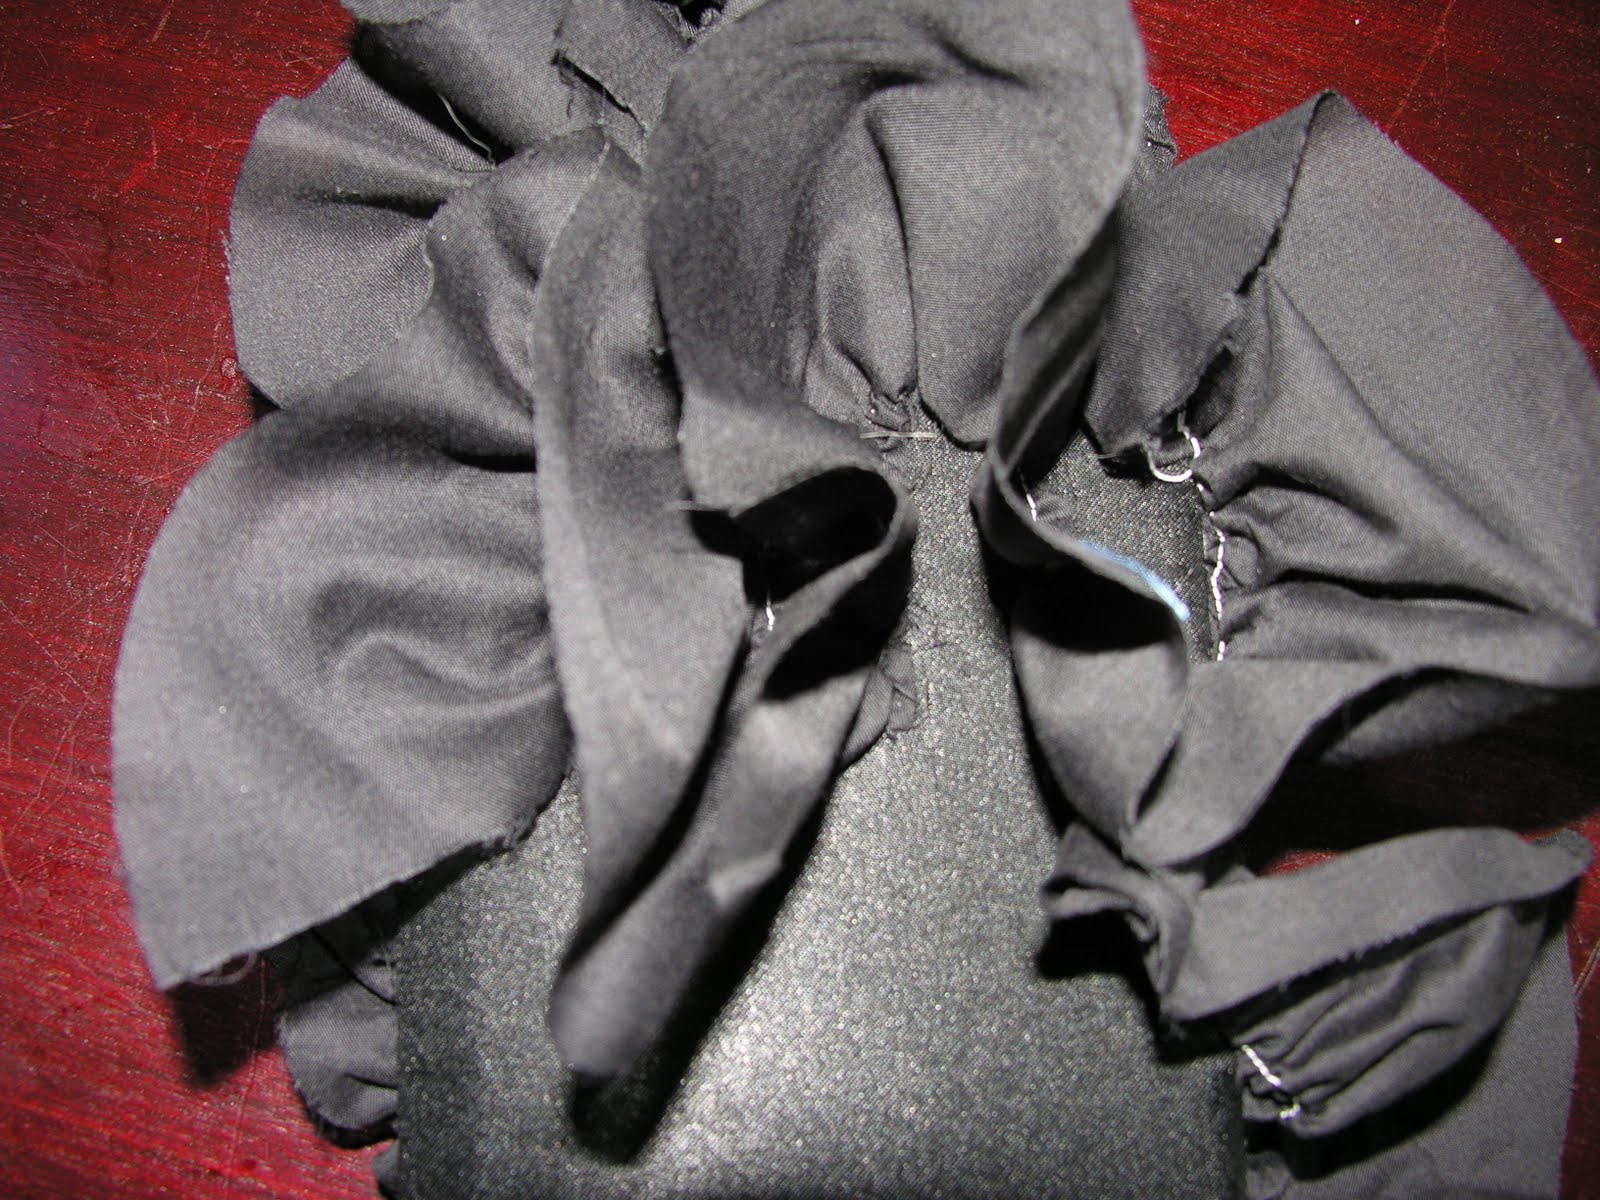
Finally I finished off the top by hot-gluing black sparkle ribbon to the top.
Here is a picture of the final clutch.